How to make an Edison Bulb LED?Exclusive Revelation on the Entire Network, The Ultimate Guidance of manufacturing process.

Step 1: Core Column Formation

Core Column Composition: Bell Mouth + Glass Tube + Two Conductive Wires Production Instructions: Use the machine designed for making bell mouths to create the bell mouth — Then place the glass tube and the bell mouth into the core column machine, and press them together at high temperature — Insert the two conductive wires at high temperature — The core column is now complete. Note: Core columns come in various sizes, to match different sizes of light bulbs.

Step 2: Welding the Iron Ring

Production Instructions: Weld an iron ring onto the completed core column to secure and connect the light strip. Not all products necessarily require the welding of an iron ring; this process should be selected based on the specific requirements of different products.

Step 3: Electrically Welding the Light Strip

If an iron ring is needed to secure and connect the light strip, then after it is fixed in place, the light strip needs to be electrically welded onto the iron ring. Note: The light strip has positive and negative poles. The small array of pins on the core column is used to fix the style of the flexible light strip.

Step 4: Production Line Light Inspection

After completing the production of the first batch of semi-finished products, all products will undergo a light inspection. During this process, defective items are identified and removed.

Step 5: Begin Sealing

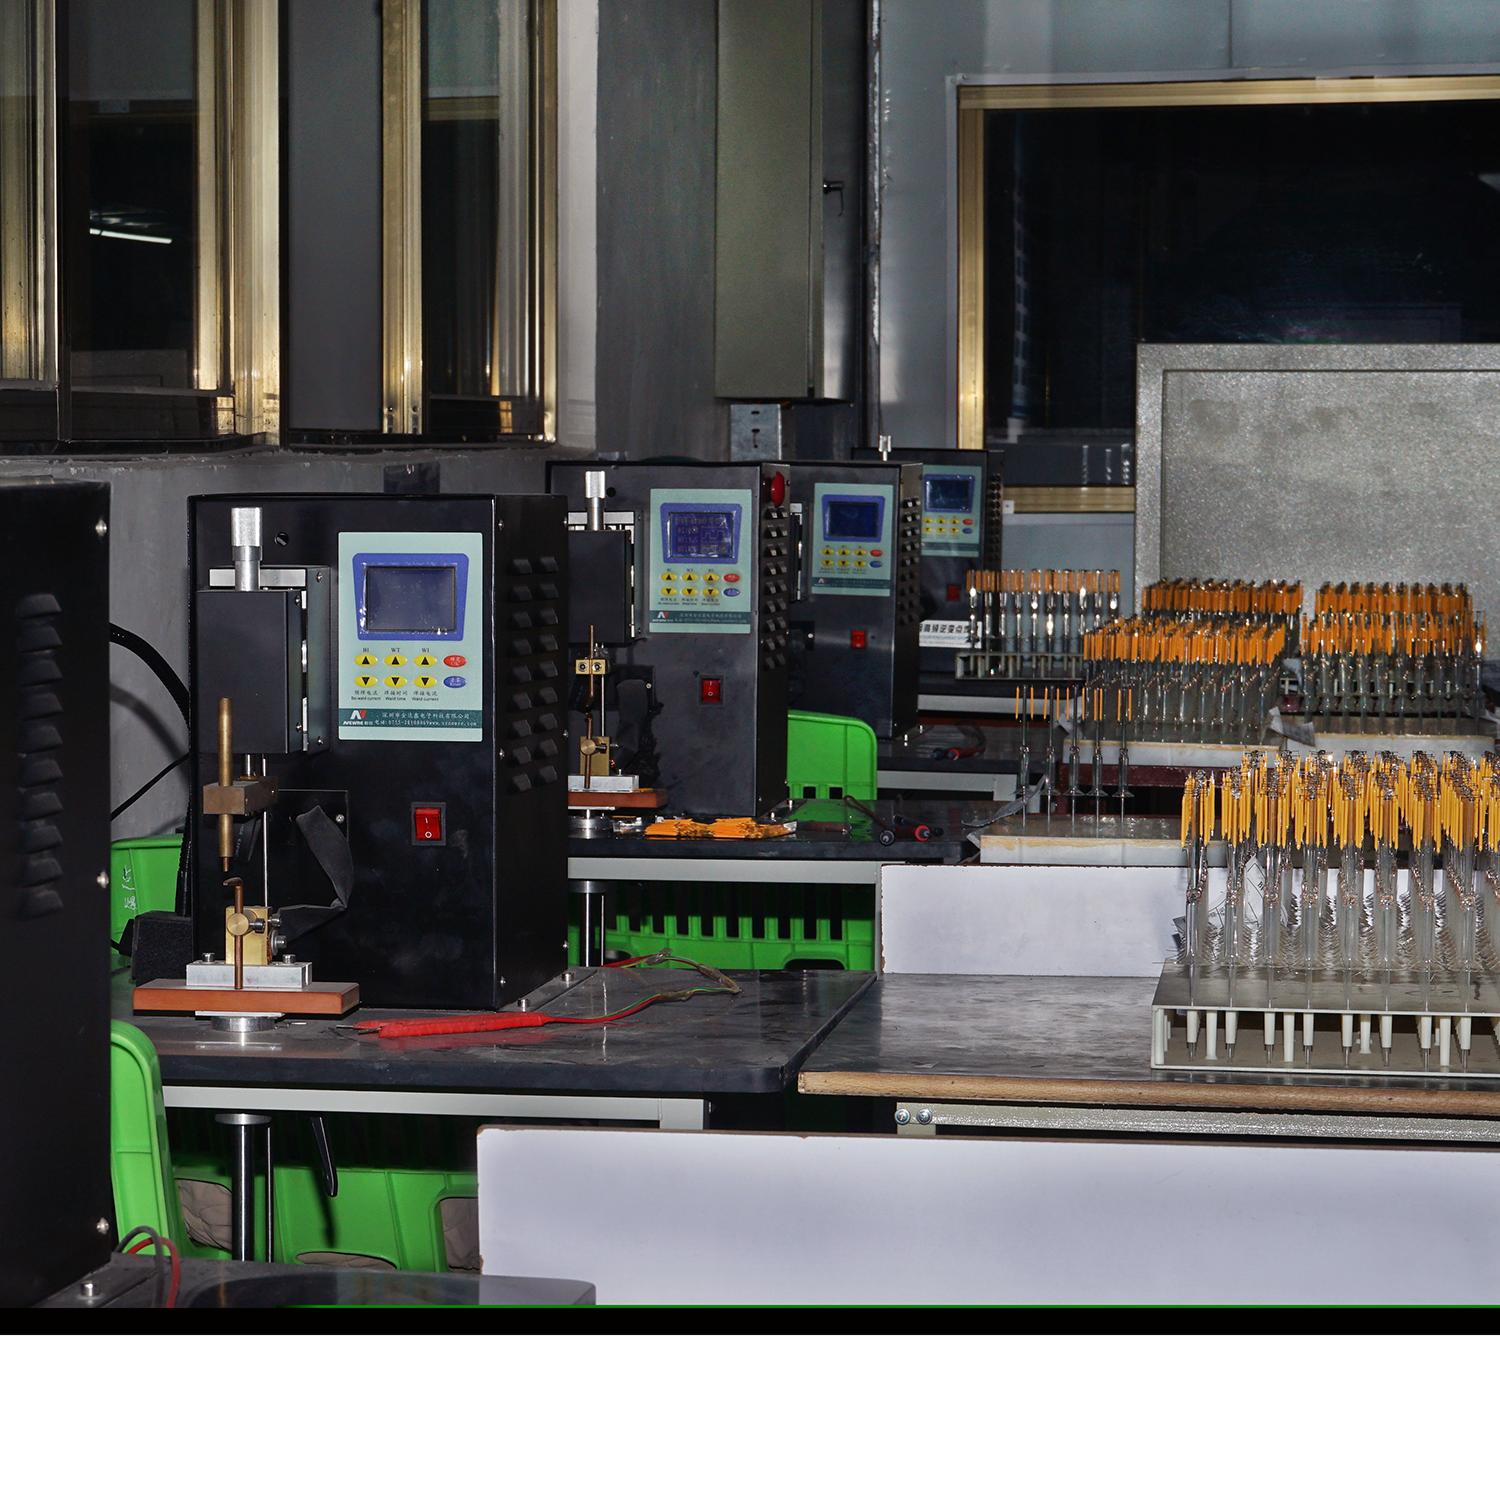
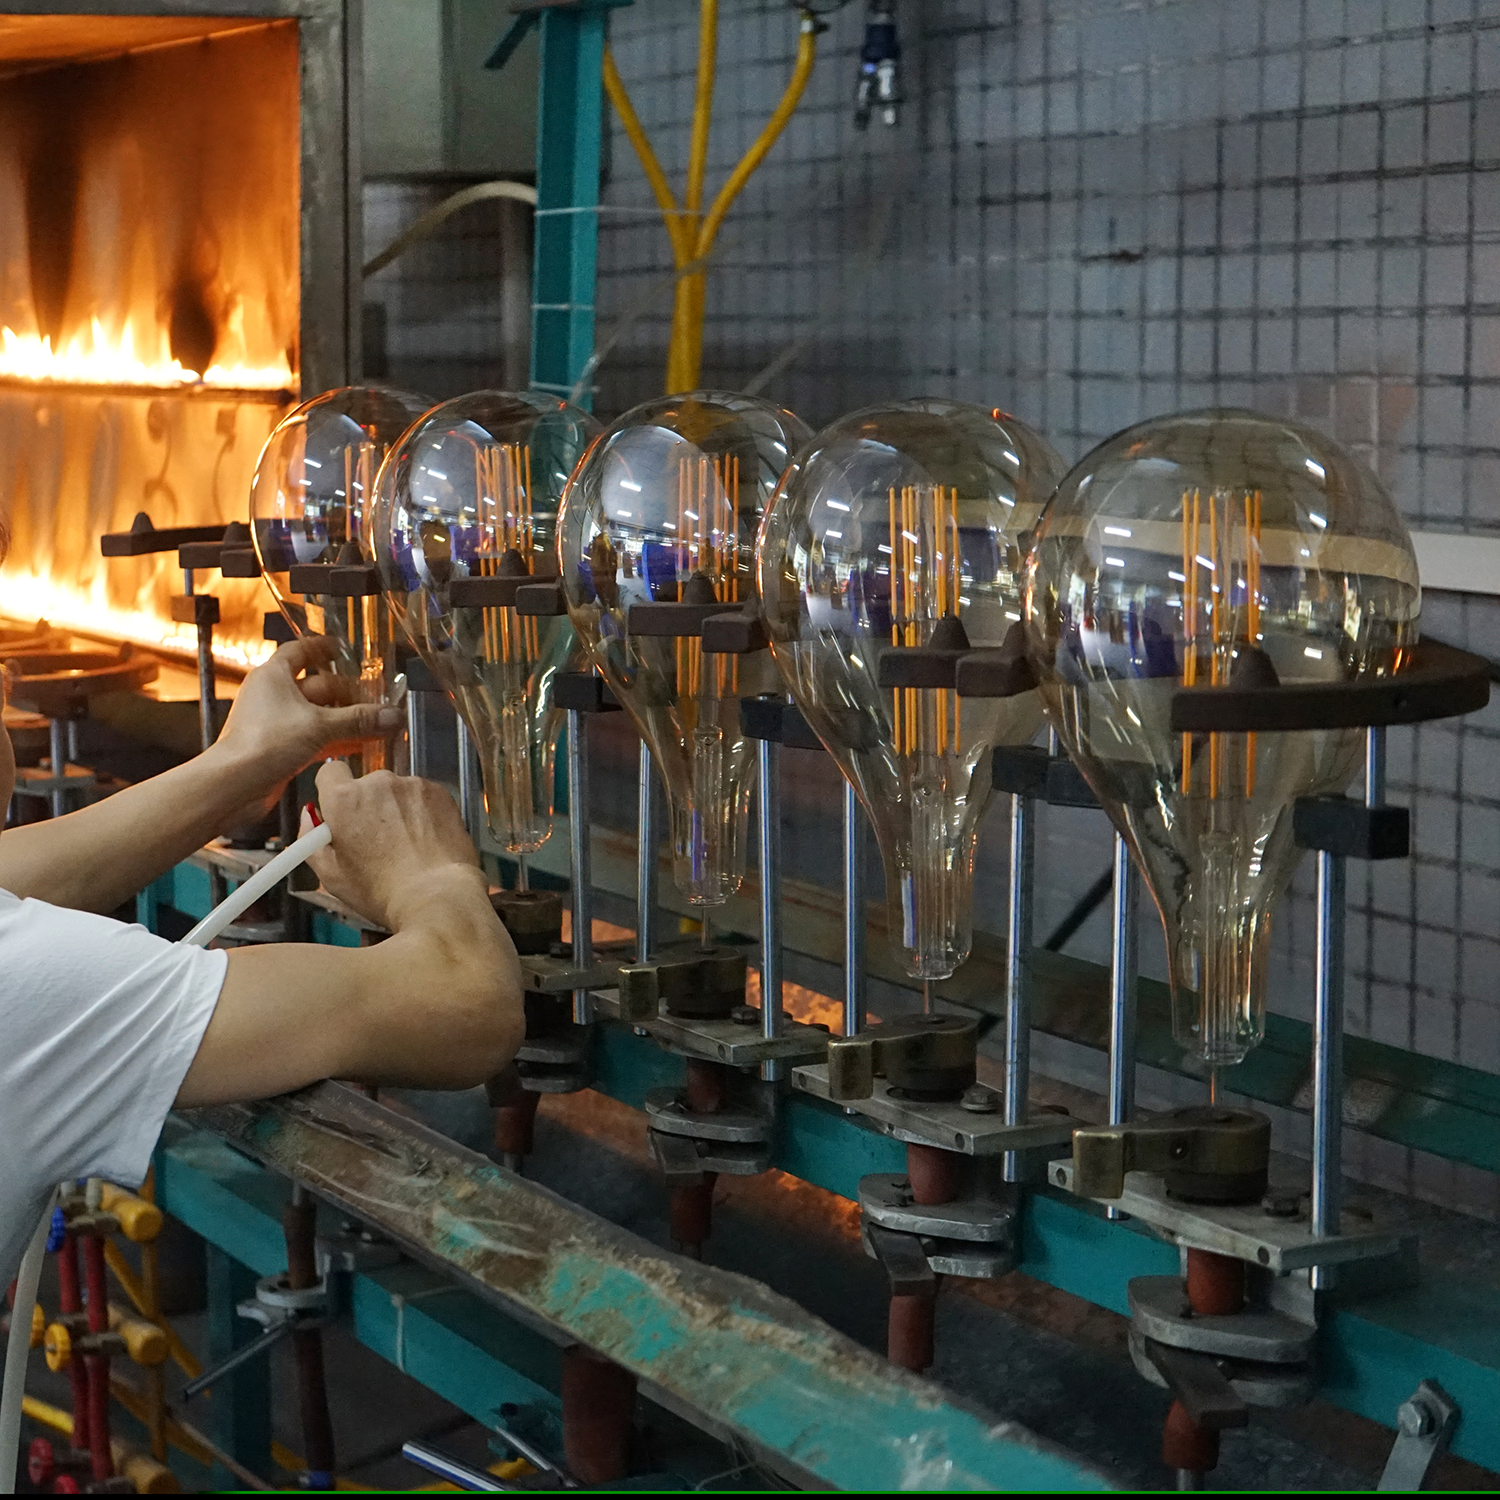
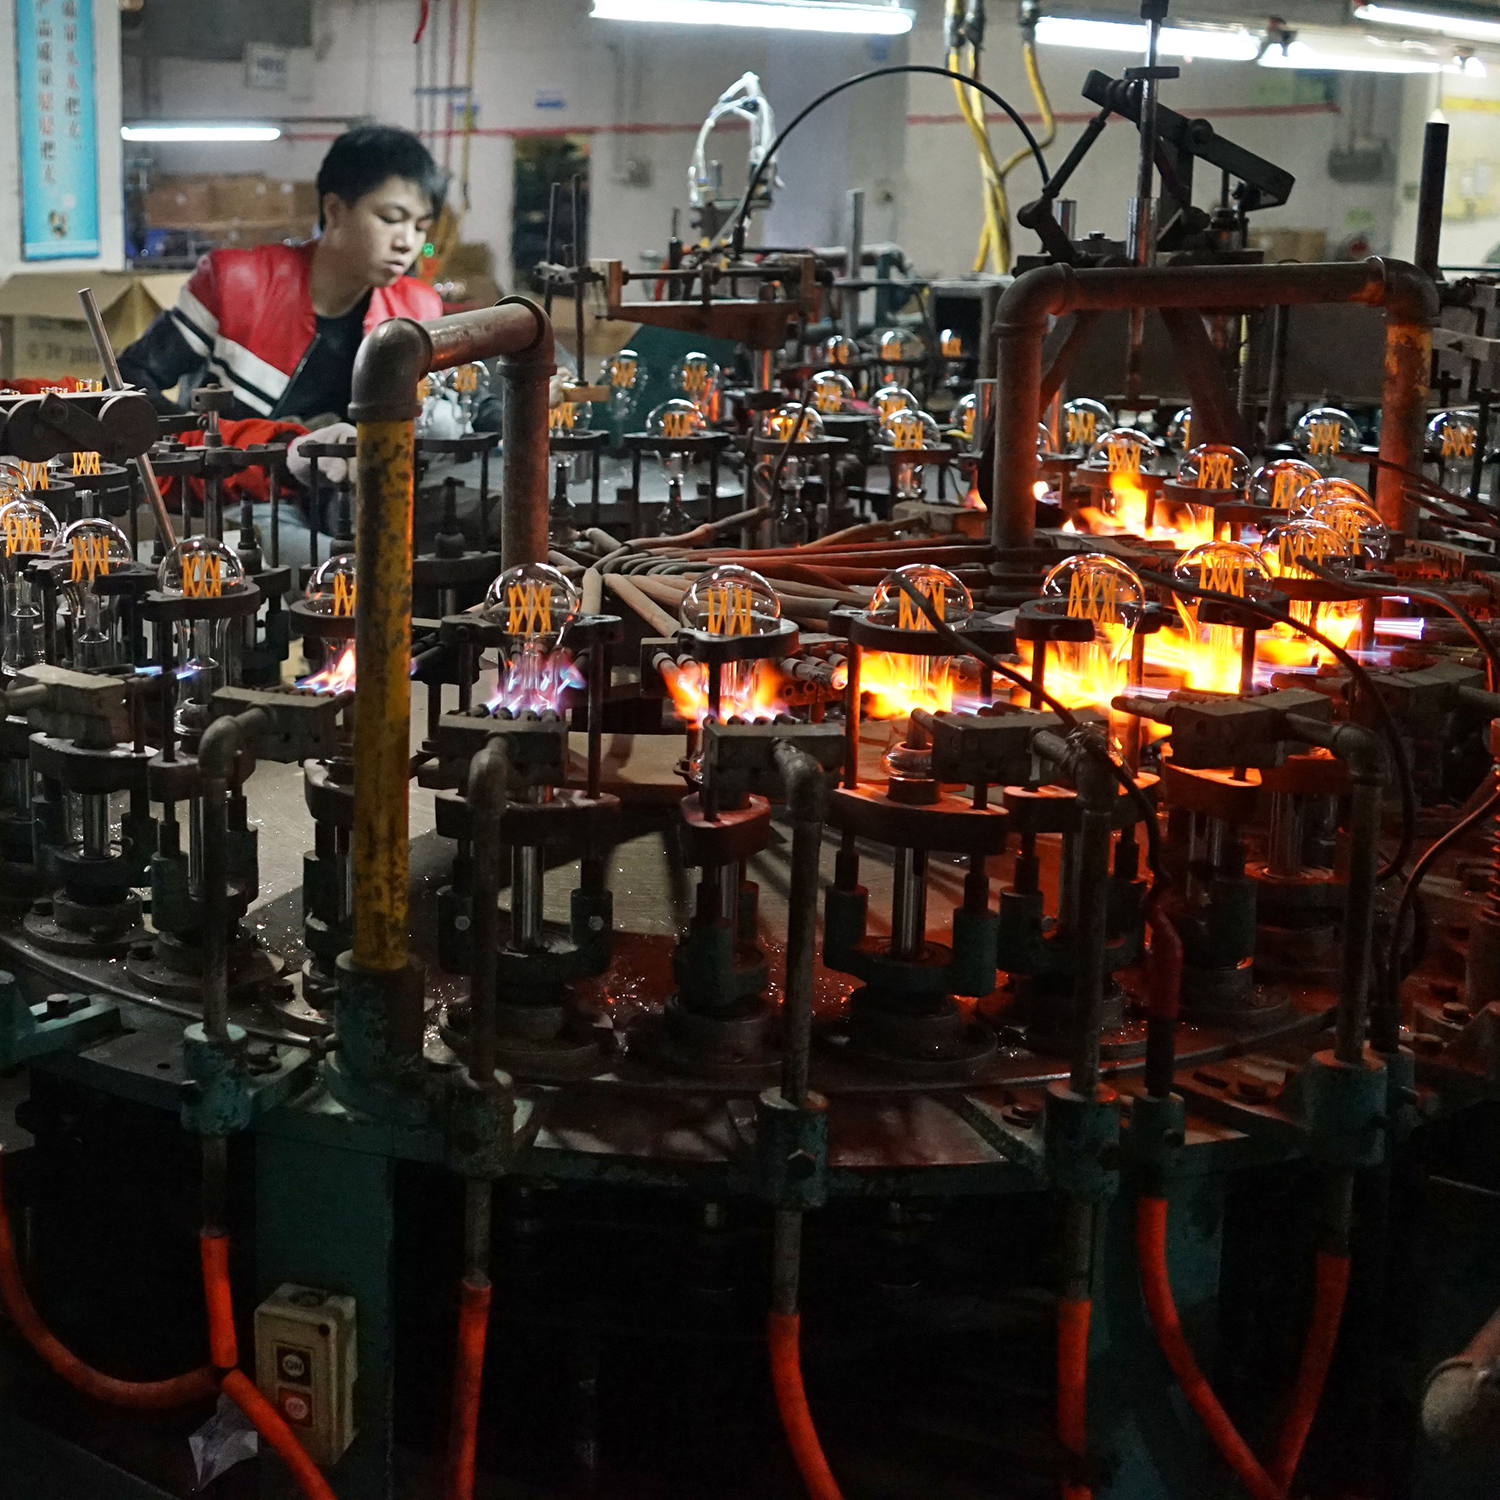
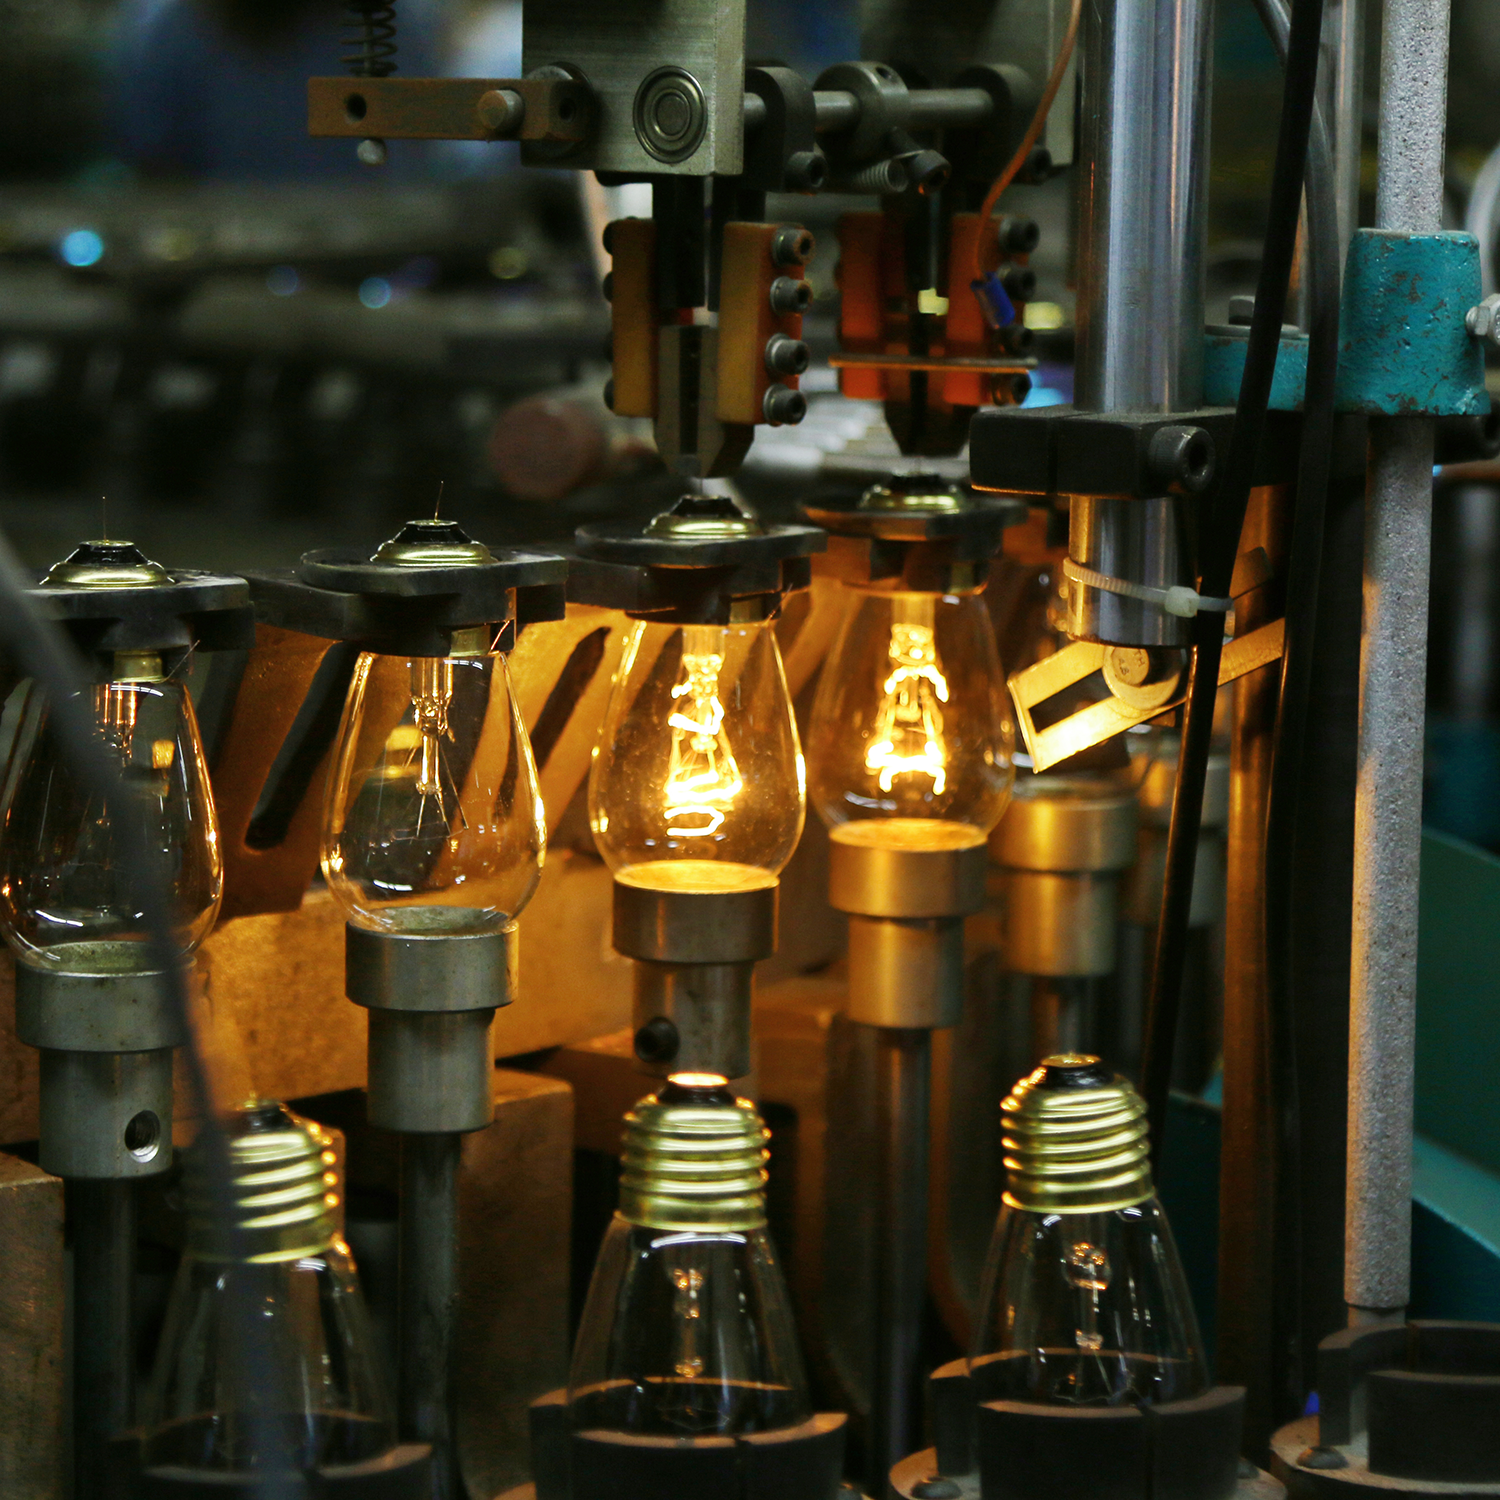
Production Instructions: Place the core column and the glass shell separately into an automatic sealing machine. During operation, the machine will evacuate the air, then inject helium gas, and finally, it will cut off the excess glass tube and seal it at a high temperature.

Note: The purpose of evacuating the air and injecting helium gas is to extend the lifespan of the light strip and prevent fogging. Many smaller brands skip this step as it doesn't affect functionality, but there is a difference in the lifespan of the bulbs.

Step 6: Fitting the Insulating Sleeve

Production Instructions: Slide an insulating sleeve over the sealed semi-finished product. The primary function of this sleeve is to provide insulation.

Step 7: Power Supply Configuration

Equip with a PCB circuit board, power supply, and resistors, which serve to adjust the lighting and control the voltage. Note: The reason why LED bulb prices vary greatly in the market is largely due to the power supply. A good power supply can provide more stable current, thereby solving issues like flickering and protecting our eyes.

Step 8: Second Light Inspection

After completing the assembly of the power supply and other components, a second light inspection is conducted to identify and remove any defective products.

Step 9: Fitting the Lamp Cap, Automated Third Light Inspection, and Soldering.

Production Instructions: Place the lamp cap and the semi-finished product into the cap fitting machine, which automatically applies glue to the lamp cap and adheres it to the semi-finished product. Then, solder the top and side of the lamp cap. Finally, perform a light inspection. At the same time, personnel will check the results of the light inspection and examine whether the lamp cap is loose.

Step 10: Finished Product Aging & Visual Inspection

By continuously stimulating the bulbs, testing can promptly detect issues with the finished product such as color temperature and electrical leakage. This is beneficial for early problem detection and enhances the stability of product performance.

Step 11: Cleaning, Packaging, Labeling

After completing the assembly of all components, the bulbs are cleaned again. Then, the products are packaged and labeled, ready for shipment.